To measure blood pressure with a sphygmomanometer, seat the patient with the arm supported at heart level, wrap a correctly sized cuff on the bare upper arm, estimate the systolic pressure by feeling the pulse, then inflate above it and deflate slowly while you listen over the brachial artery with a stethoscope. The first tapping sound is the systolic pressure; the point where the sounds disappear is the diastolic.
The short answer
- You need a manual sphygmomanometer (cuff, bulb and gauge) and a stethoscope.
- Cuff size matters: too small reads high, too large reads low.
- Estimate systolic by palpation first, then inflate about 30 mmHg above it.
- Deflate at 2 to 3 mmHg per second: first sound is systolic, disappearance is diastolic.
- Record both numbers, the arm, the position and the cuff size.
What you need
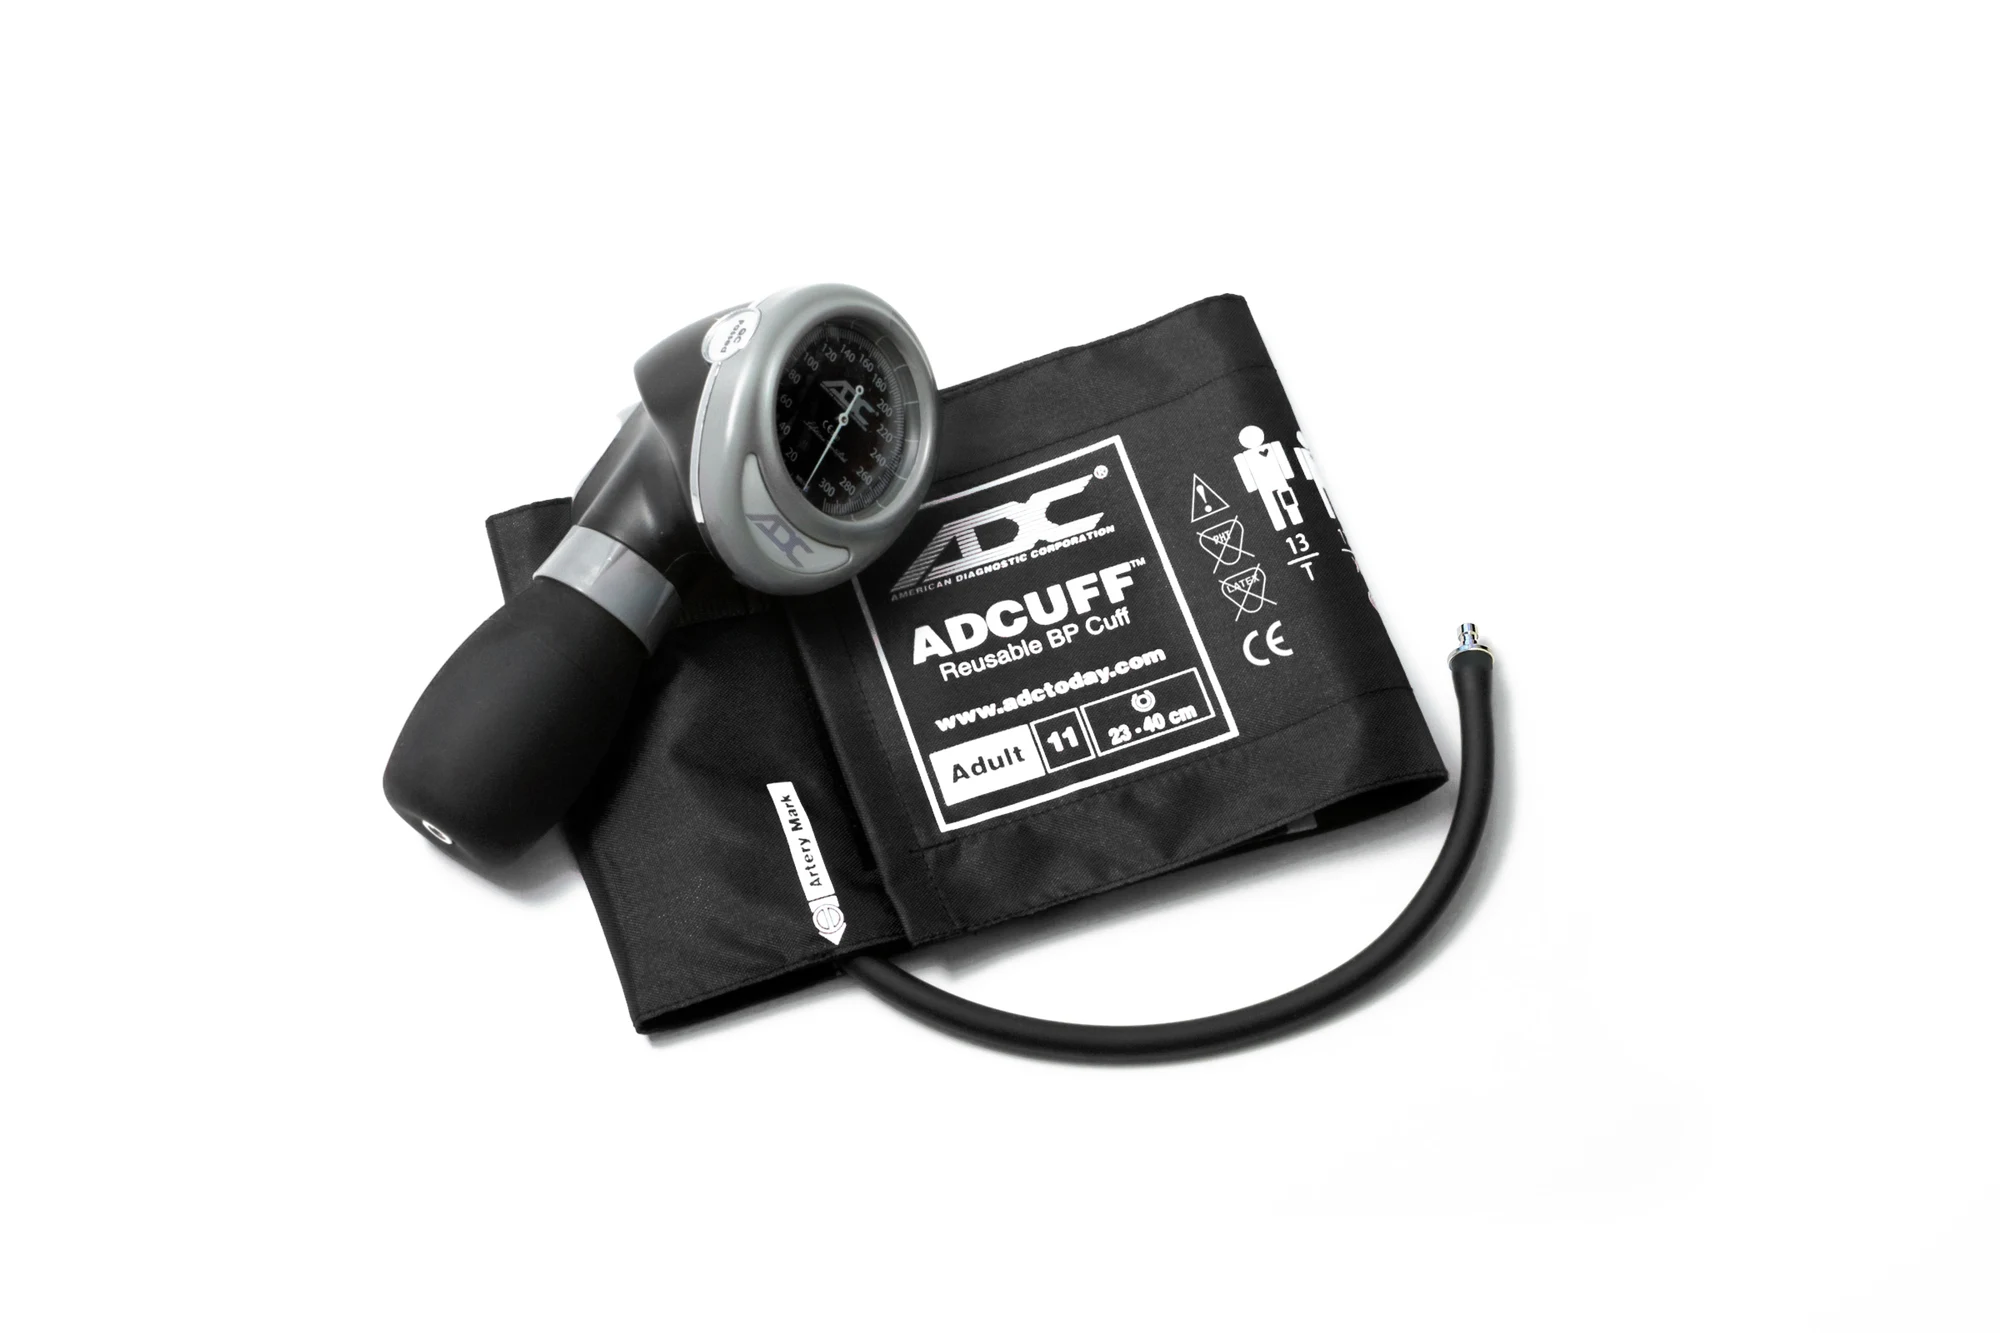
A manual blood pressure set has three parts: an inflatable cuff with a bladder inside, a bulb with a release valve, and a gauge. You also need a stethoscope to hear the Korotkoff sounds. If you are buying your first set, the WiZmed Sphygmomanometer has a 0 to 300 mmHg gauge marked in 2 mmHg steps, a latex-free bulb and bladder, an adult cuff for arms of 22 to 32 cm and a calibration key.
A sphygmomanometer and a stethoscope
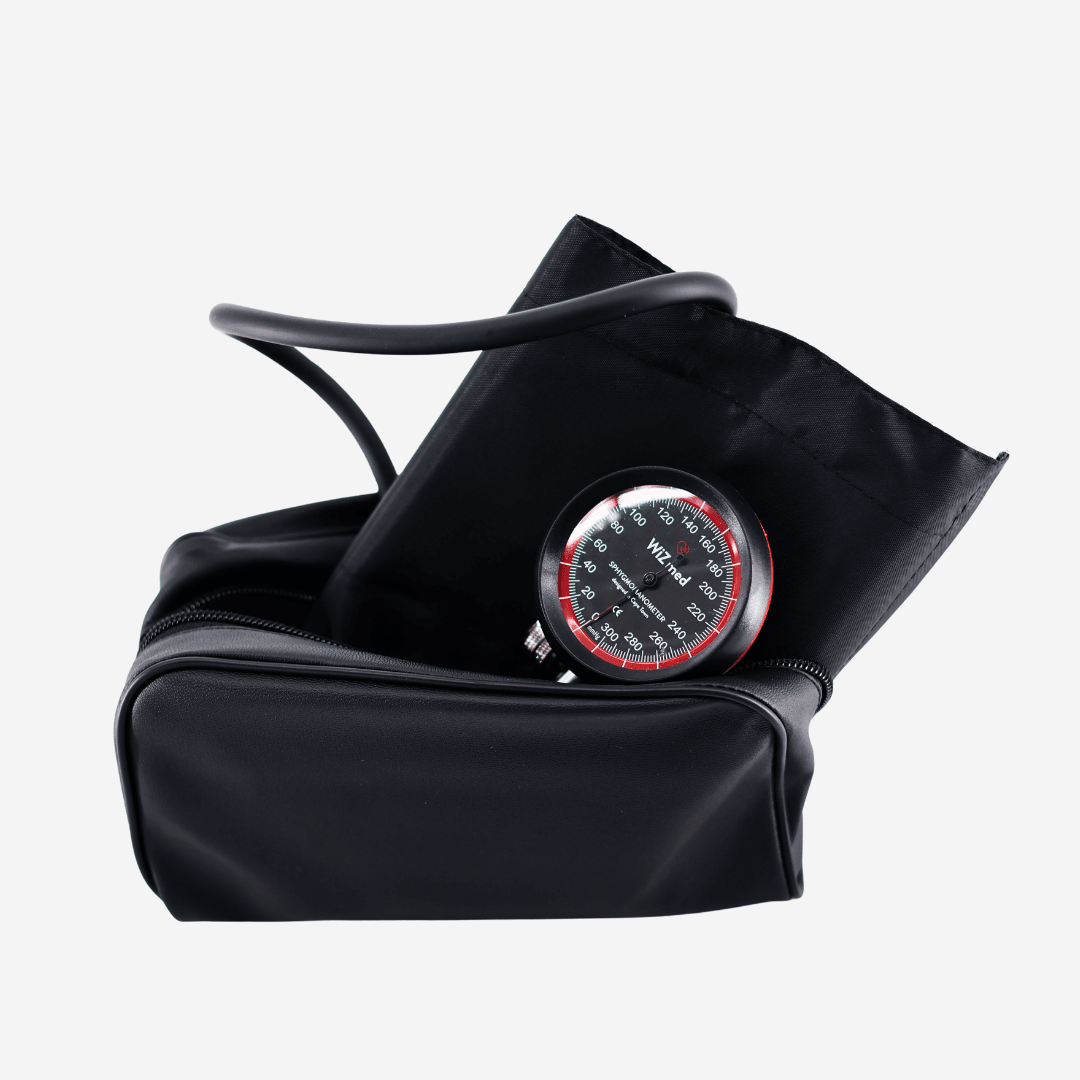

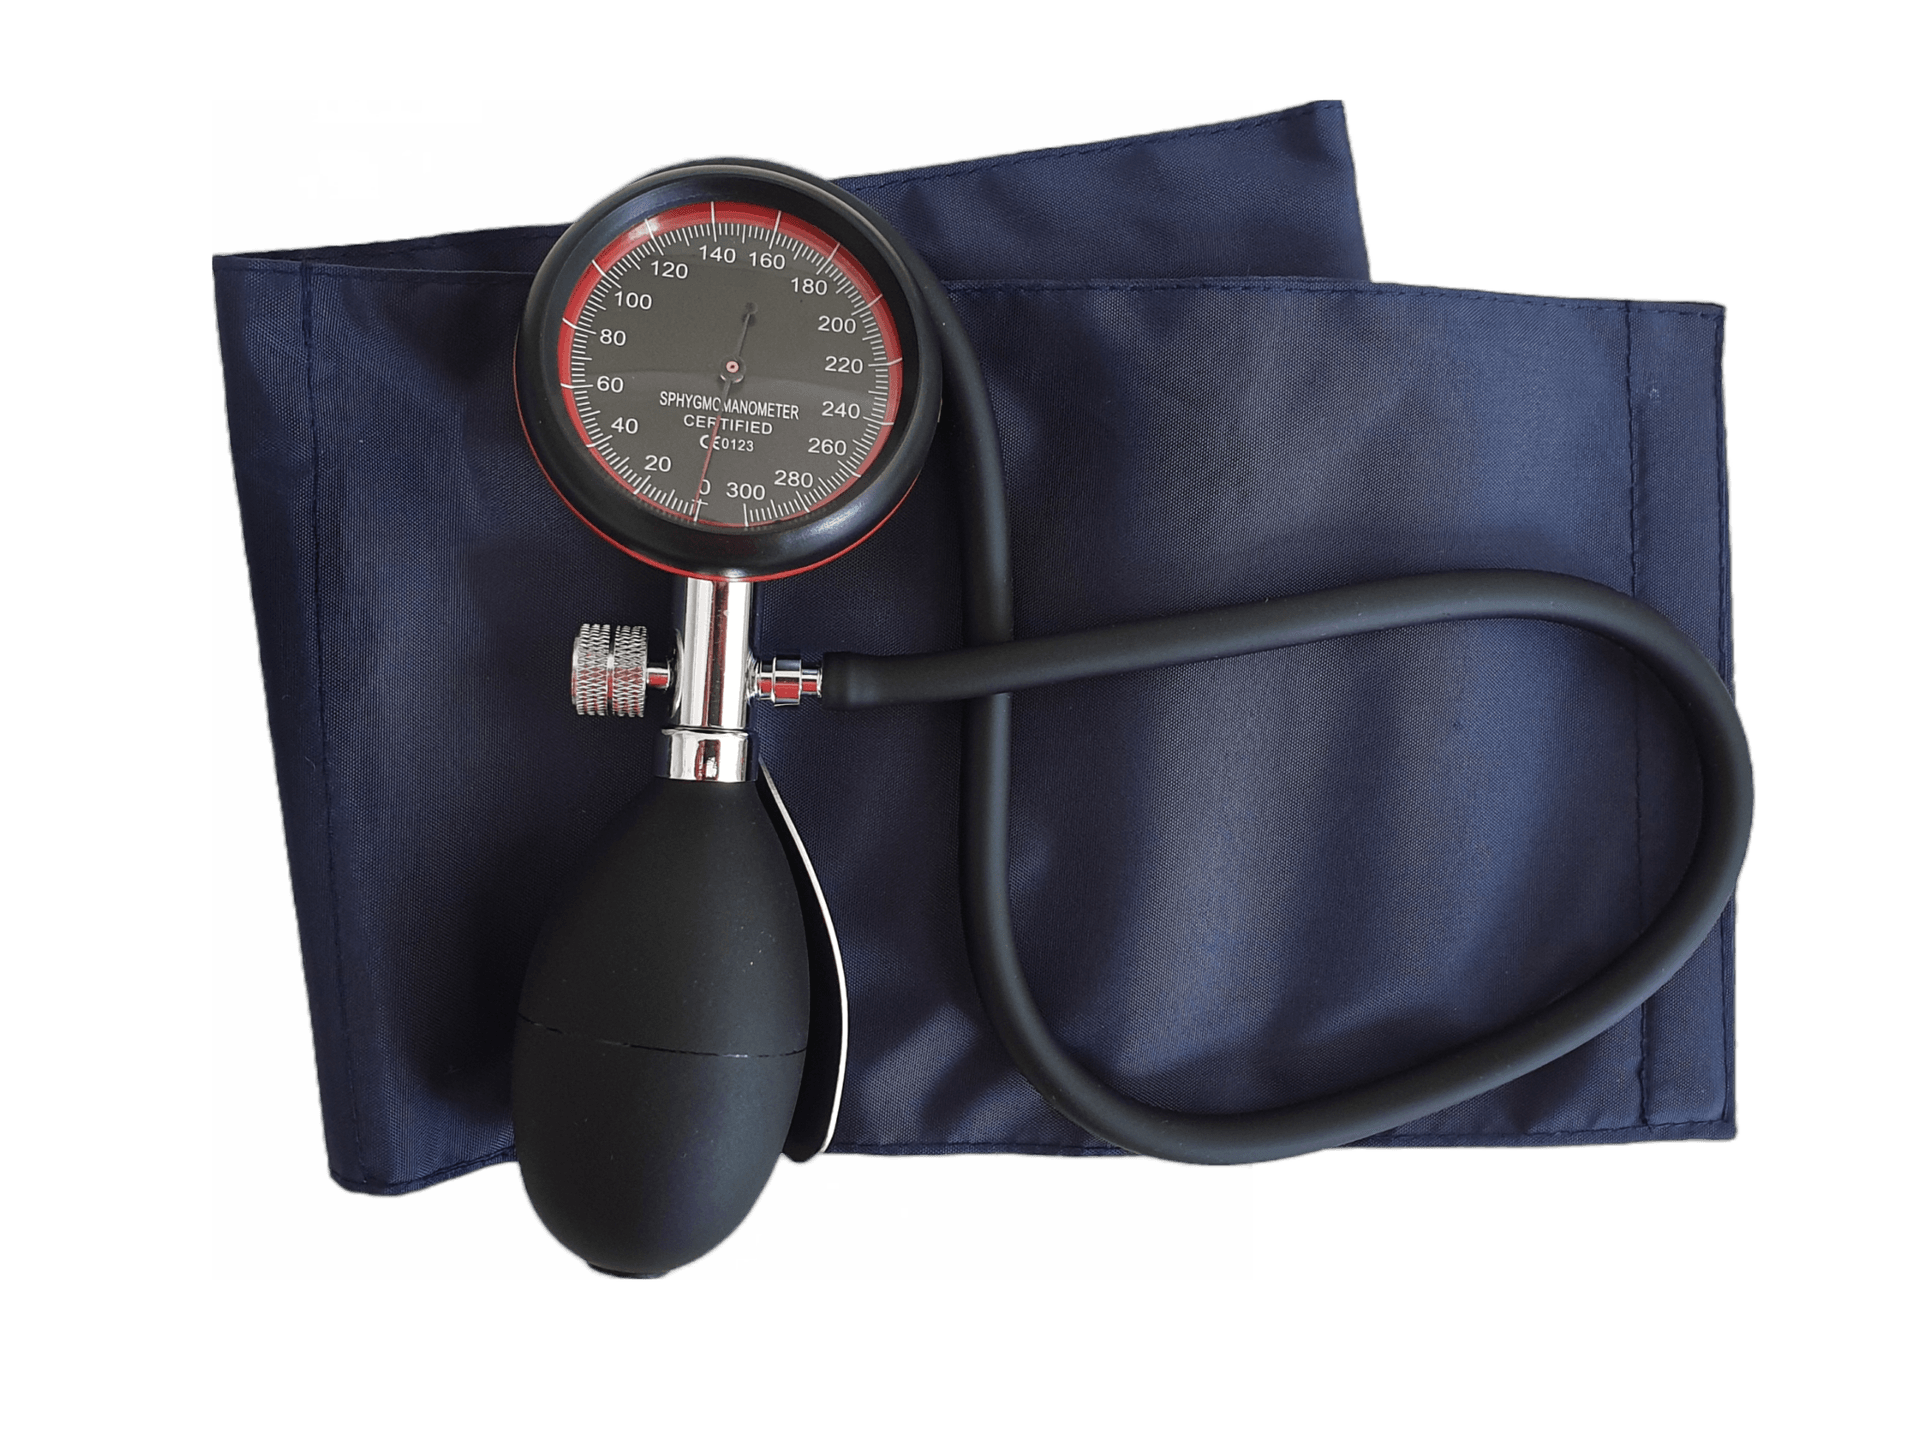
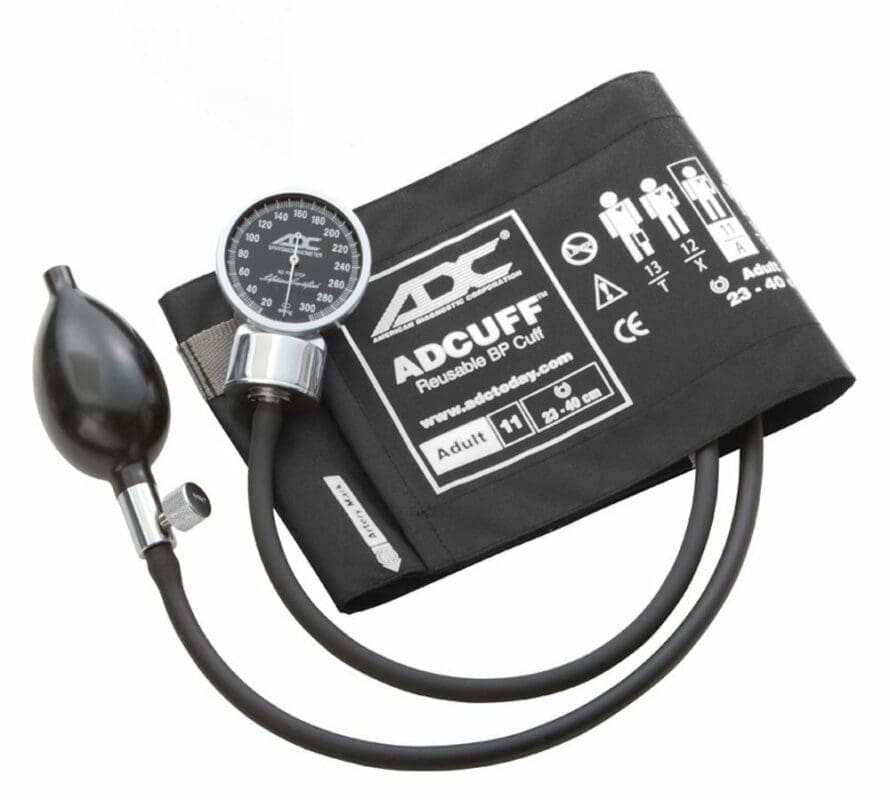
Some cuffs carry an artery marker and printed range markings; others are plain. Both work. Learn where the centre of the bladder sits on the cuff you use, because that is the part that must lie over the artery.
Get the cuff size right
The commonest cause of a wrong manual reading is the wrong cuff. Standard teaching is that the bladder should go around at least 80% of the arm and its width should be about 40% of the arm's circumference. In practice, measure around the middle of the upper arm, halfway between the tip of the shoulder and the point of the elbow, and choose a cuff whose printed range includes that number.
| Cuff | Arm circumference |
|---|---|
| WiZmed Sphygmomanometer adult cuff | 22 to 32 cm |
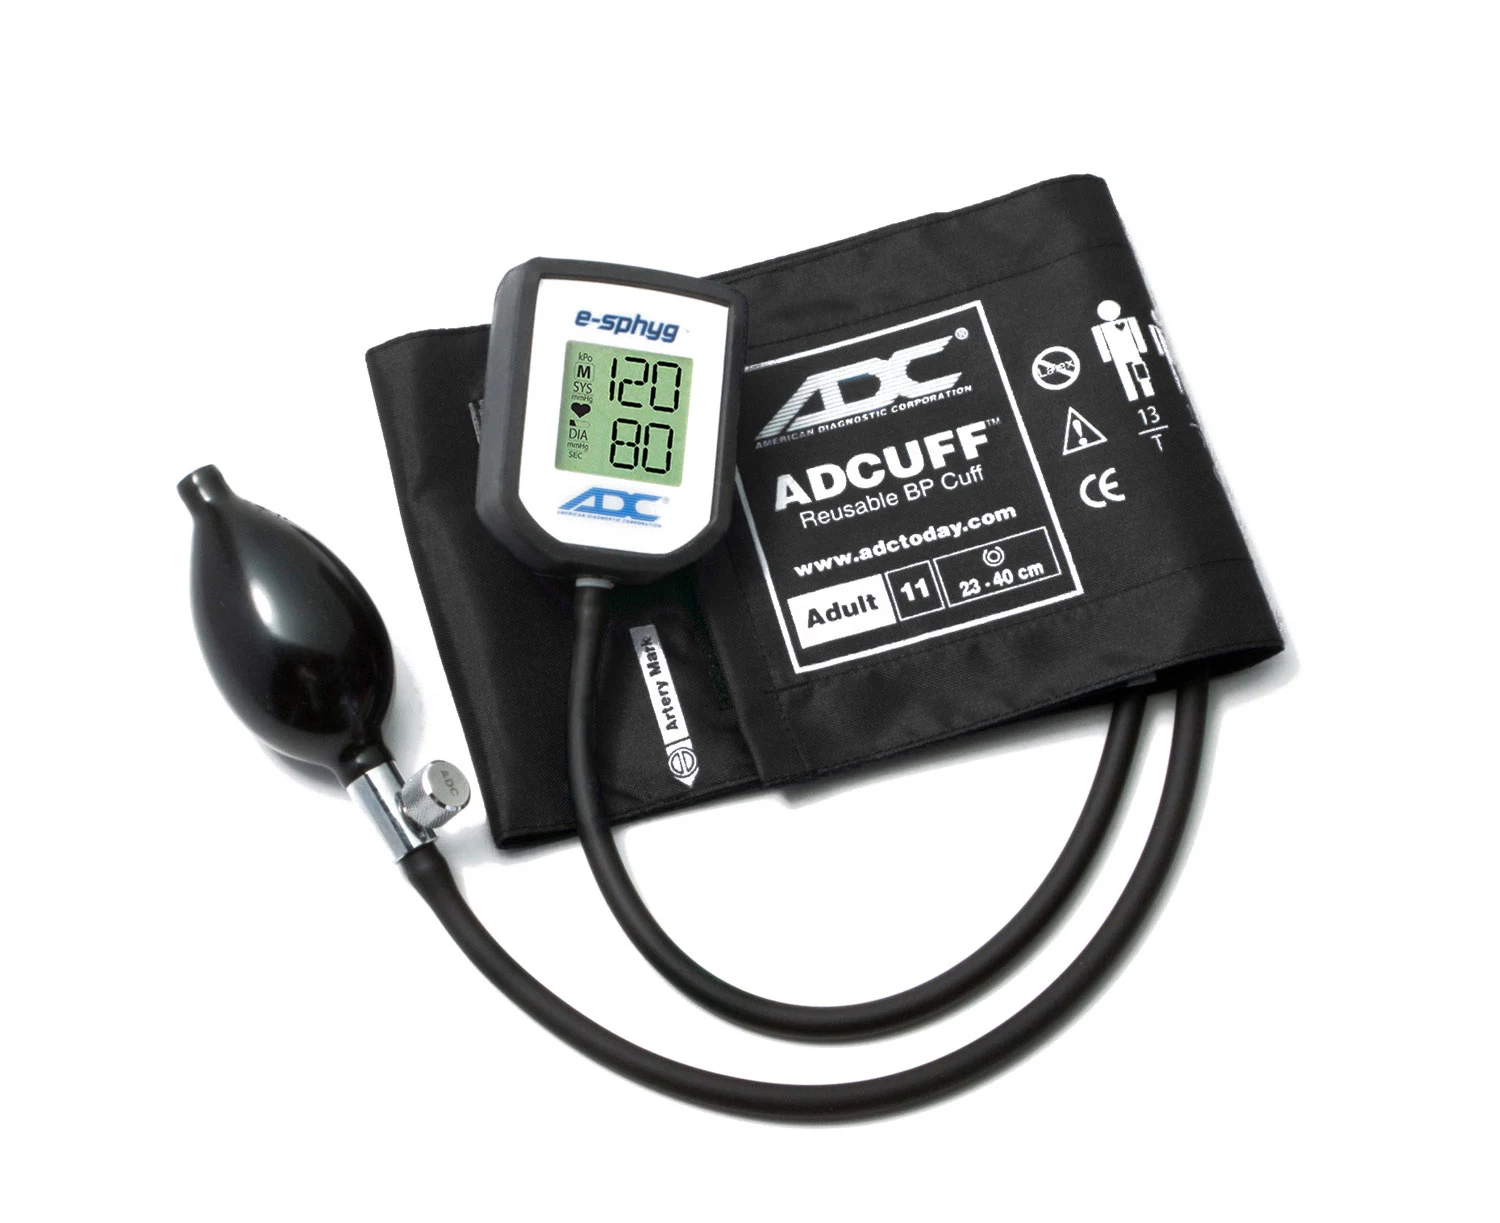
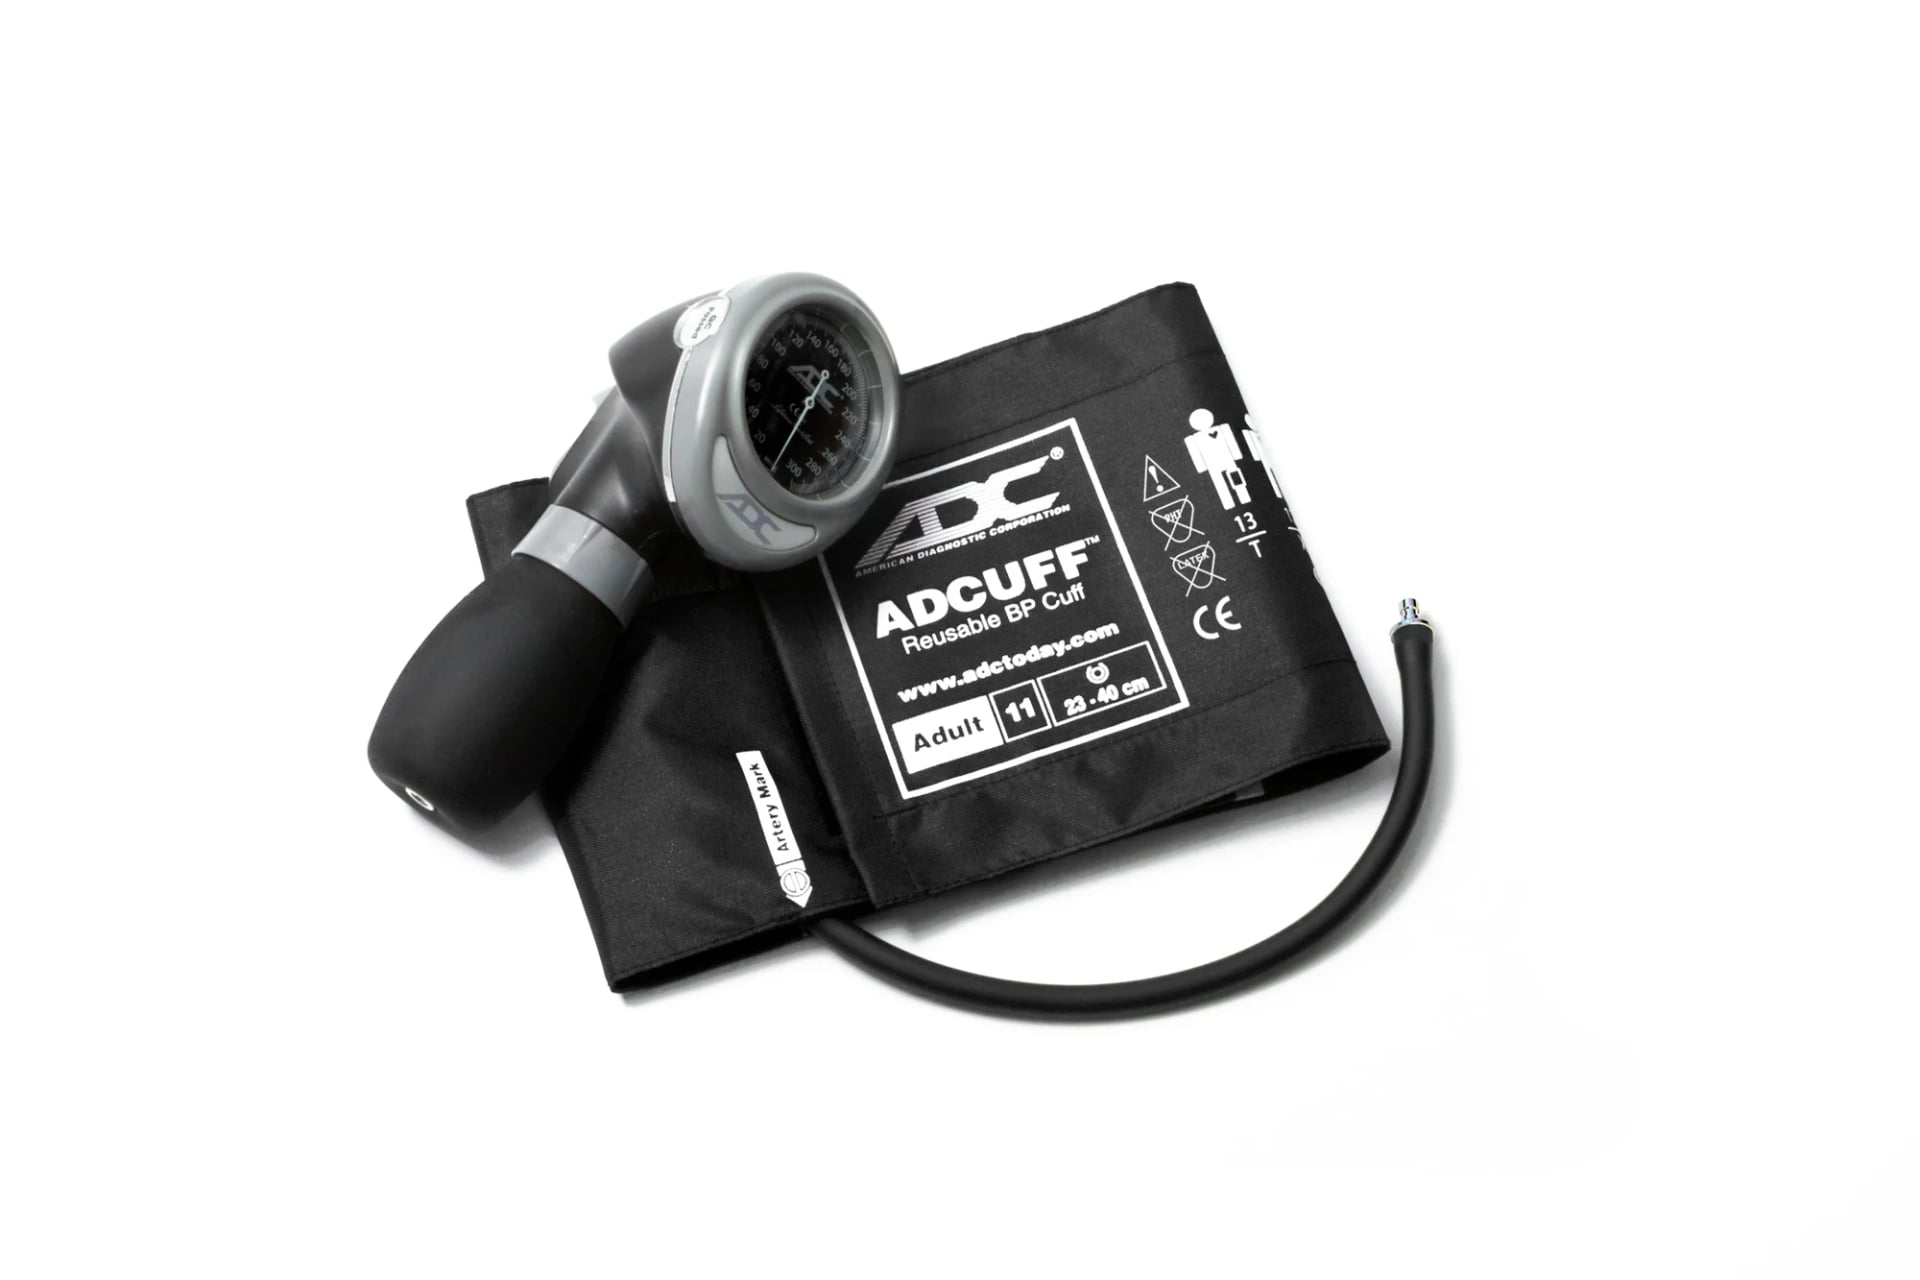
| ADC adult cuffs (e-sphyg, 700, 703, 775) | 23 to 40 cm |
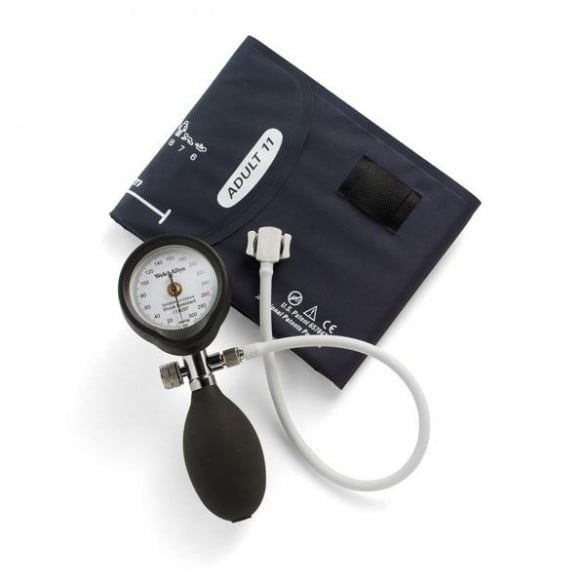
| Welch Allyn REUSE FlexiPort size 11 Adult | 25 to 34 cm |
| ADC Multikuf kit (small adult, adult, large adult) | 19 to 50 cm across three cuffs |
Step by step: manual blood pressure measurement
Taking a manual blood pressure
Prepare the patient
Ideally no caffeine, smoking or exercise in the previous 30 minutes. Seat the patient with the back supported, feet flat on the floor and legs uncrossed, and let them rest quietly for about five minutes. Neither of you should talk during the reading.
Position the arm
Bare the upper arm; do not roll a tight sleeve up into a band. Rest the arm on a table or pillow, palm up and elbow slightly flexed, so the middle of the cuff is at the level of the heart.
Find the brachial artery
Feel for the brachial pulse on the inner side of the elbow crease, just medial to the biceps tendon.
Wrap the cuff
Place the lower edge of the cuff about 2 to 3 cm above the elbow crease, with the artery marker or the centre of the bladder over the brachial artery. It should be snug: you should just be able to slip two fingers under it.
Estimate systolic by palpation
Feel the radial pulse and inflate until it disappears. Note that pressure, then deflate fully and wait about 30 seconds. This palpatory estimate stops you being misled by a silent gap in the sounds.
Place the stethoscope
Put the chestpiece over the brachial artery just below the cuff, not tucked under it. The bell picks up the low-pitched Korotkoff sounds well; the diaphragm is easier to hold flat. Either is acceptable.
Inflate
Close the valve and inflate quickly to about 30 mmHg above the palpated systolic pressure.
Deflate slowly and listen
Open the valve so the needle falls at 2 to 3 mmHg per second. The first clear, repeated tapping sounds (Korotkoff phase I) mark the systolic pressure.
Find the diastolic
Keep deflating. The point at which the sounds disappear (phase V) is the diastolic pressure in adults. Listen for another 10 to 20 mmHg to confirm they have gone, then deflate fully.
Record the result
Write it as systolic/diastolic, for example 120/80 mmHg, to the nearest 2 mmHg. Note the arm, the patient's position and the cuff size.
Common errors that give a wrong reading
Most wrong readings come from technique, not the equipment. These are the errors examiners and ward sisters look for.
- Cuff over clothing or a sleeve rolled into a tight band above it.
- Stethoscope under the cuff, which adds noise and pressure.
- Talking or crossed legs during the reading, both of which raise it.
- Rounding to 0 or 5 instead of reading to the nearest 2 mmHg.
- Reading the gauge at an angle. Look at it straight on.
- A gauge that does not rest at zero. Aneroid gauges drift and need regular calibration checks.
Choosing a sphygmomanometer
For learning, an entry-level set is enough. The economy pocket aneroid has a 0 to 300 mmHg gauge and a washable cuff, and the deluxe pocket aneroid adds range markings on the cuff and a latex-free bladder and bulb. If you will take blood pressures every day, a premium set holds up better.
Sphygmomanometers for students and clinicians
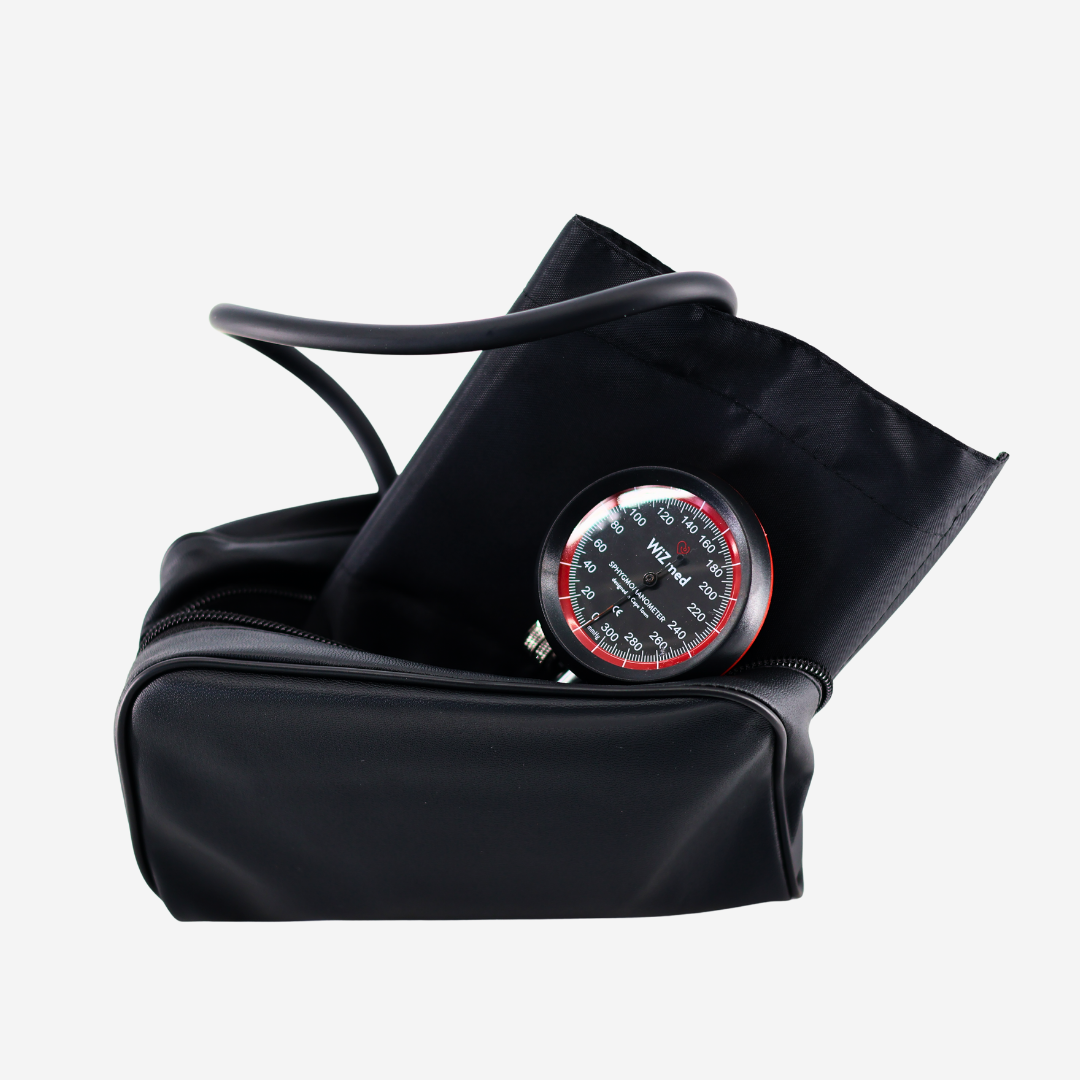 Our pick for students WiZmed SphygmomanometerR349 | 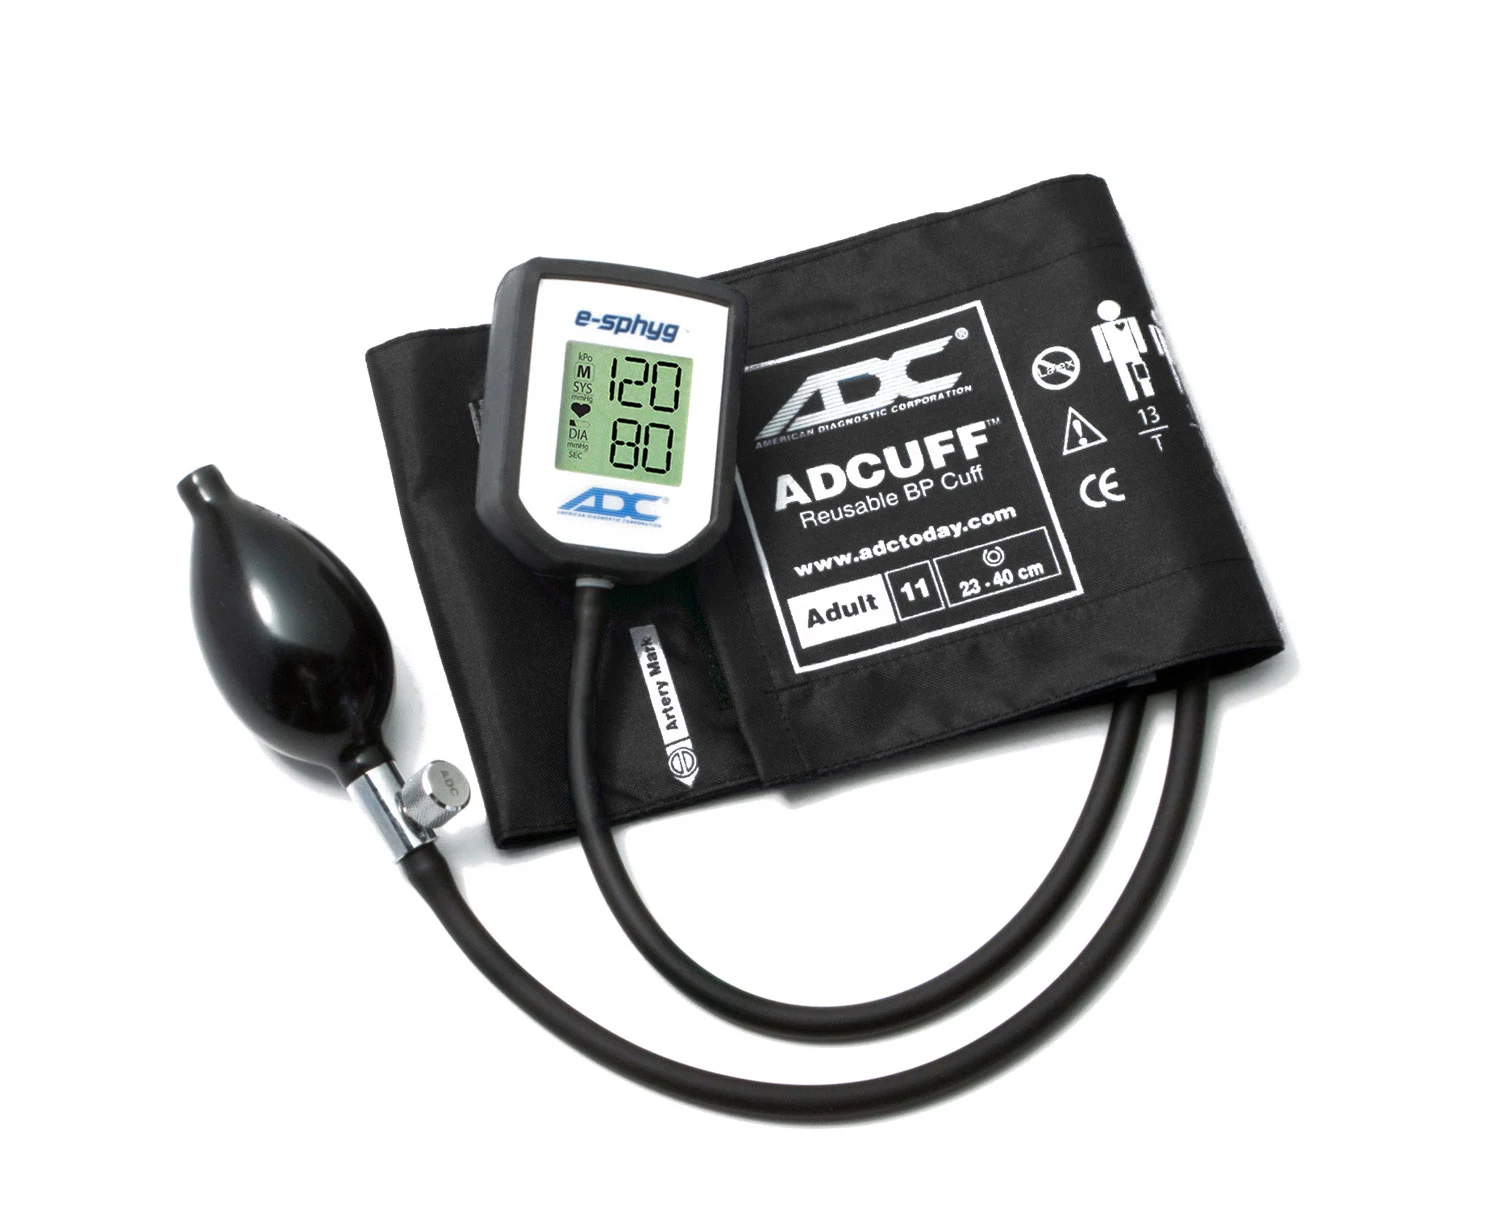 Digital gauge ADC e-sphygR1 499 | 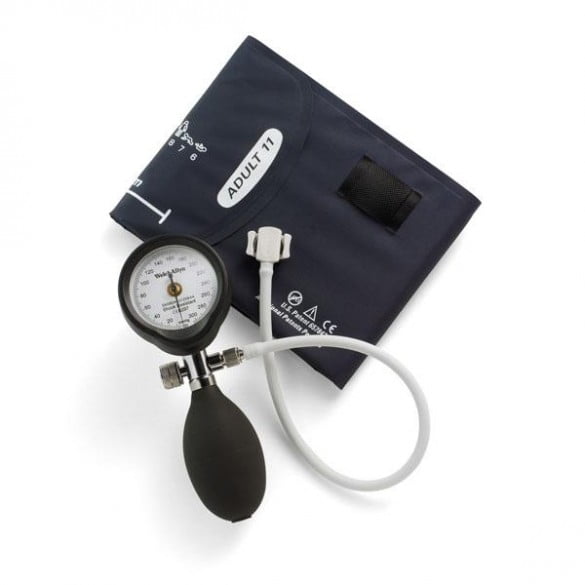 Premium Welch Allyn DS54R1 599 | |
|---|---|---|---|
| Gauge | 0 to 300 mmHg dial in 2 mmHg steps, ±3 mmHg | Digital, backlit display | Gear-free aneroid, ±3 mmHg |
| Cuff | Adult D-ring, 22 to 32 cm | Adult, 23 to 40 cm | FlexiPort adult cuff |
| Extras | Calibration key, zip case, 2-year warranty | Systolic assist, drop-resistant | Gauge on the cuff rotates 360° for viewing |
| Stethoscope needed | Yes | Yes | Yes |
Our verdict
Start with the WiZmed set; step up to the ADC e-sphyg or Welch Allyn DS54 once you take blood pressures every day.
The ADC e-sphyg has a digital gauge, but you still listen with a stethoscope, so it teaches the same skill. The ADC Diagnostix 703 is a palm aneroid with the bulb and a one-hand trigger valve built into the gauge. The Welch Allyn DuraShock DS54 mounts the gauge on the cuff, so it stays in view while you work.
Which stethoscope for blood pressure?
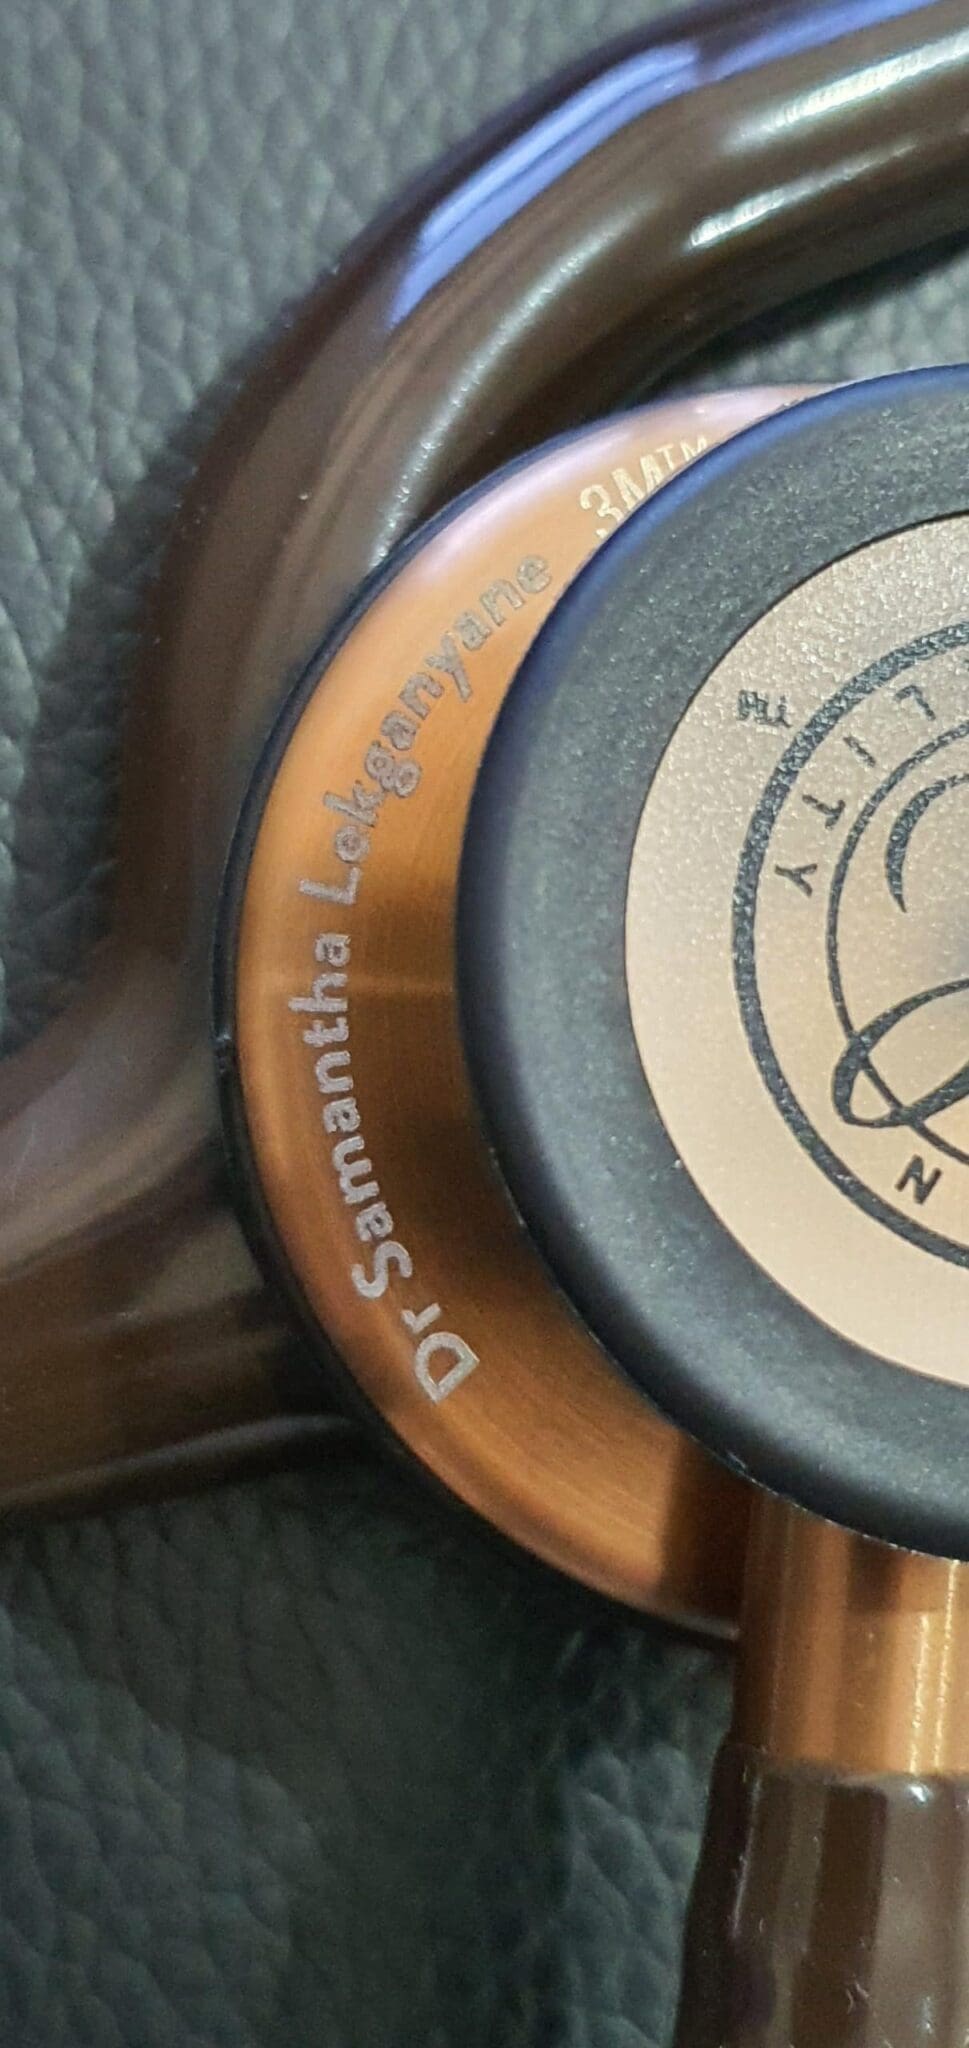
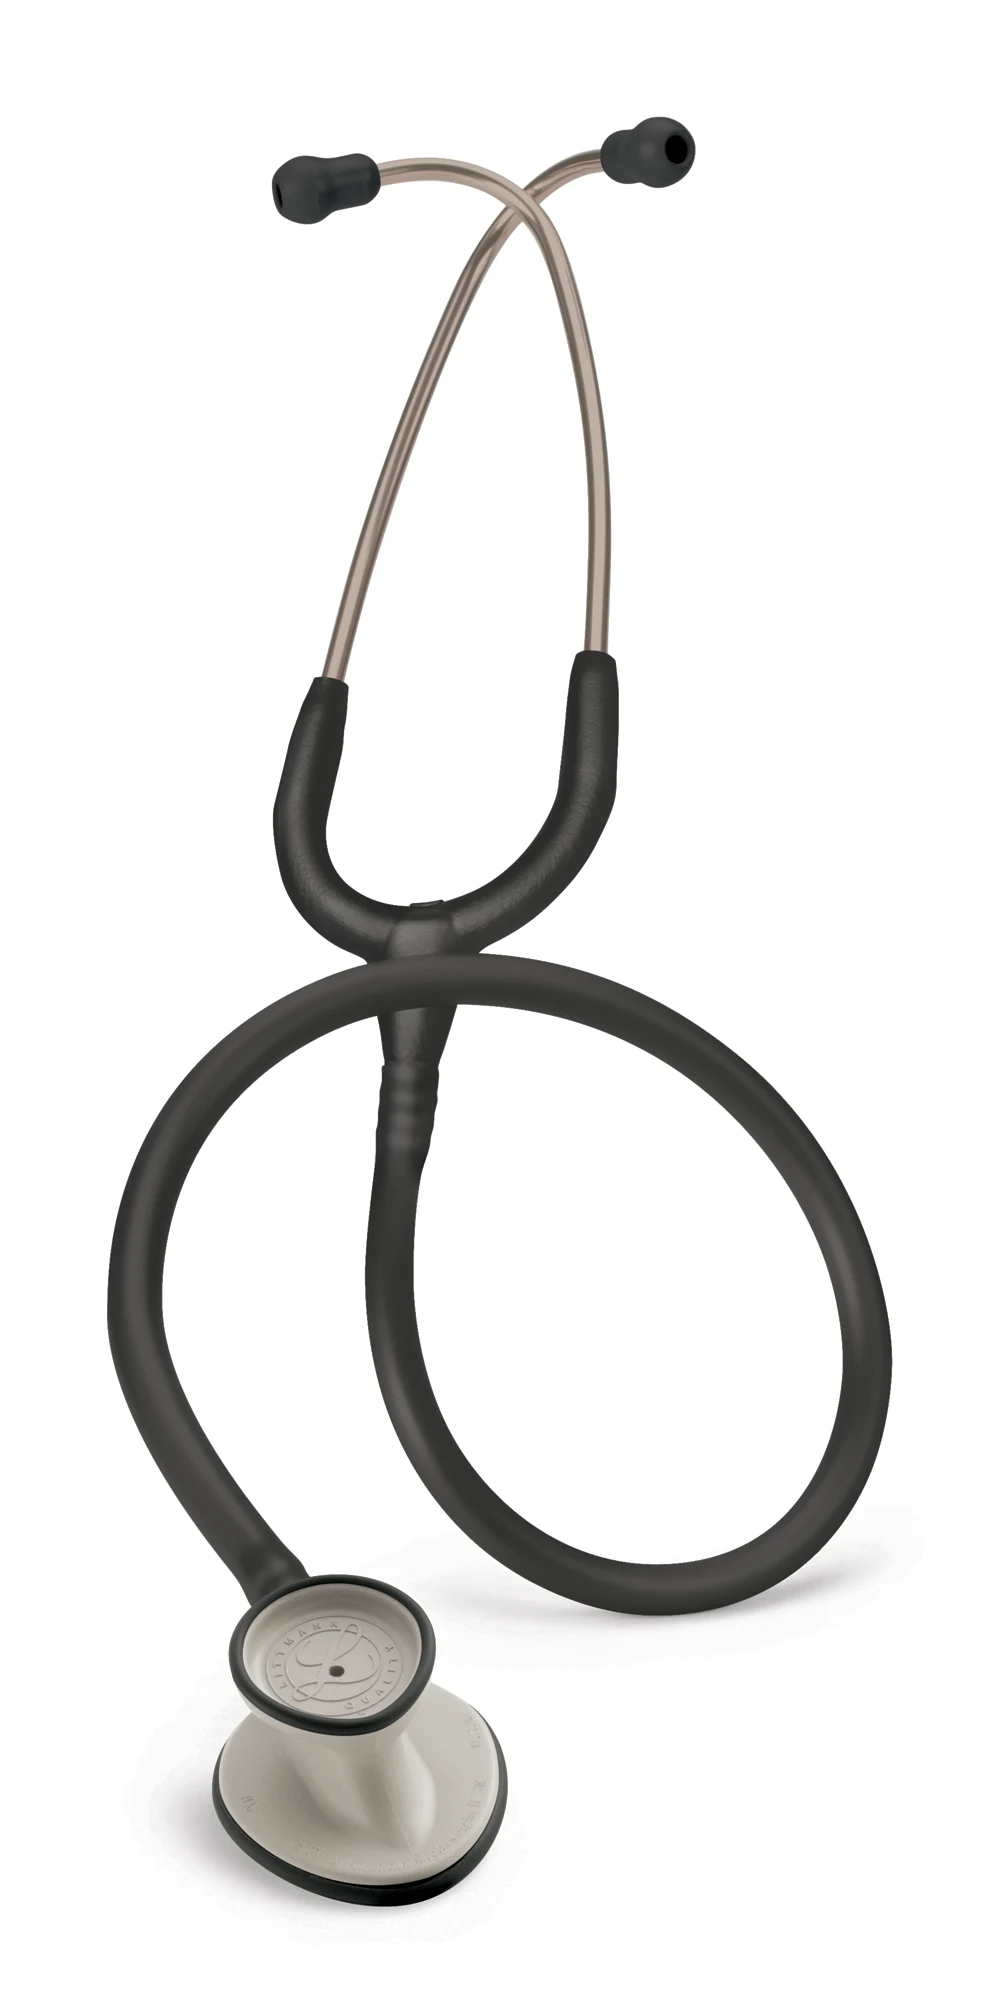
Any good acoustic stethoscope will hear Korotkoff sounds. A slim chestpiece is easier to fit into the space just below the cuff. The Littmann Lightweight II S.E. has a teardrop chestpiece made for blood pressure readings and weighs 118 g. The WiZmed Stethoscope is dual-head with an adjustable-frequency diaphragm, and the Littmann Classic III has tunable diaphragms on both sides. For more, read choosing your stethoscope.
Stethoscopes for the ward
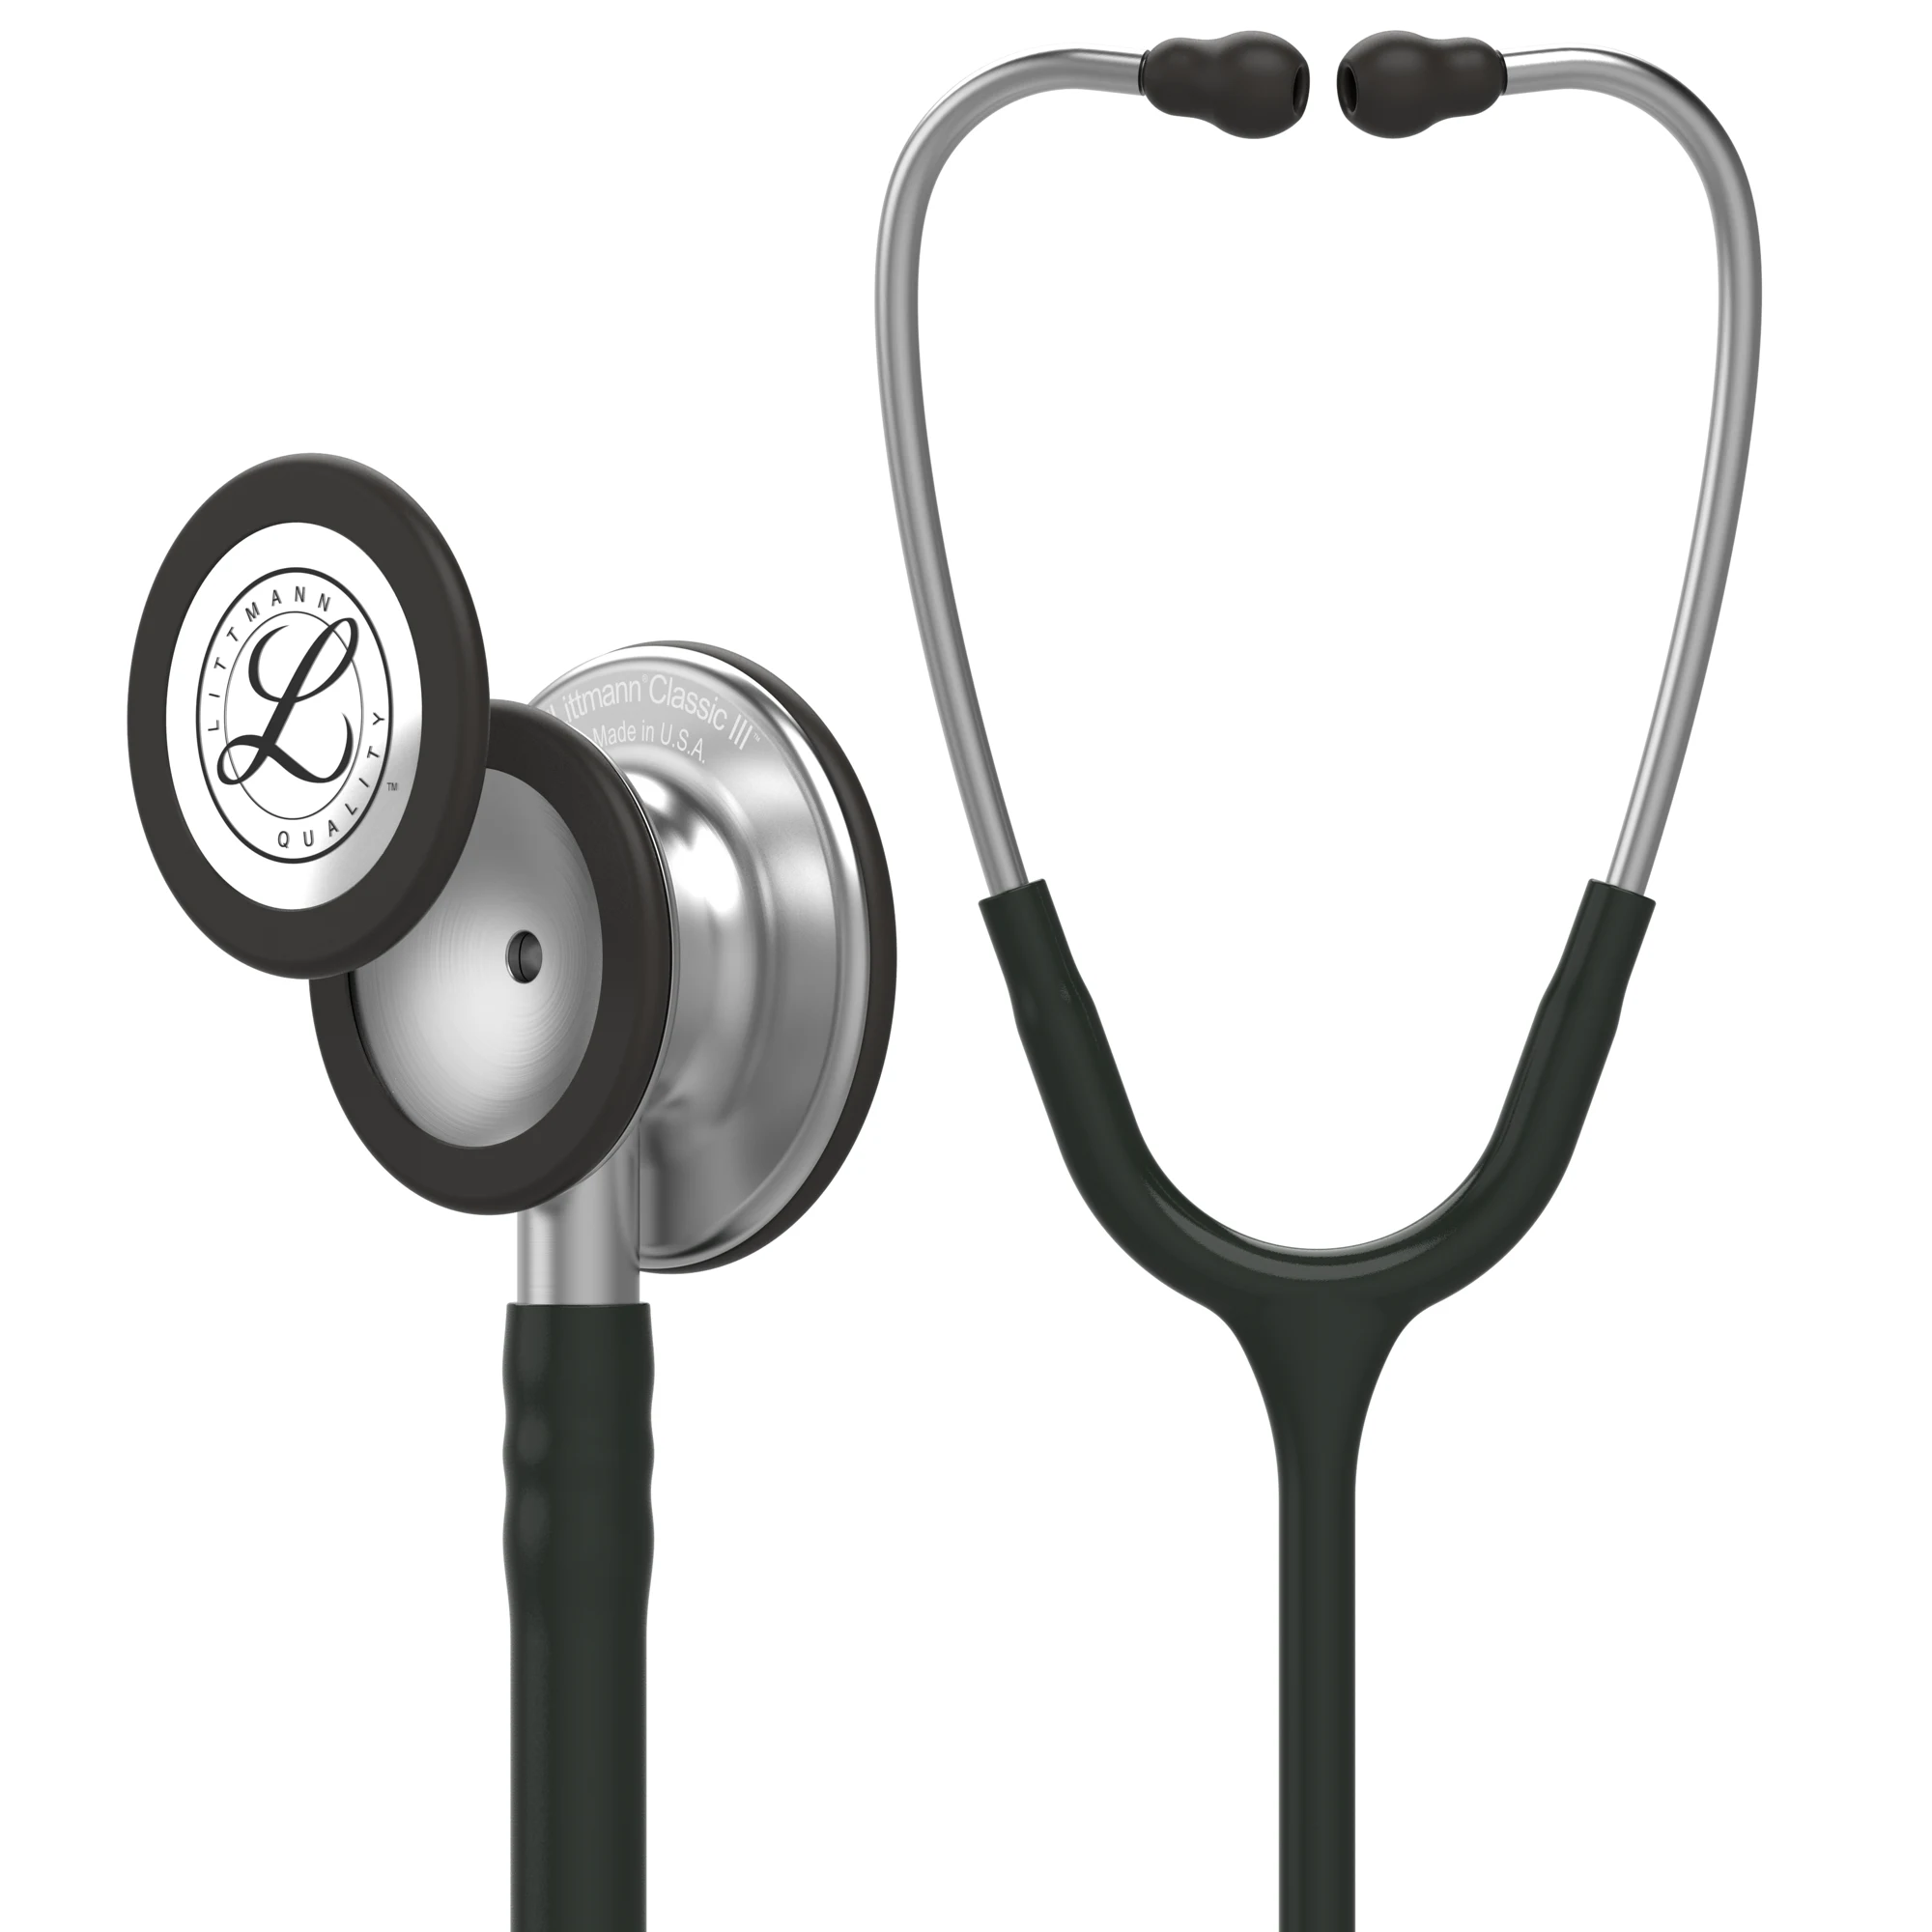
Littmann Classic III Stethoscopes
Littmann Classic III - Black - Stainless Steel Stethoscope
5.0 (1)
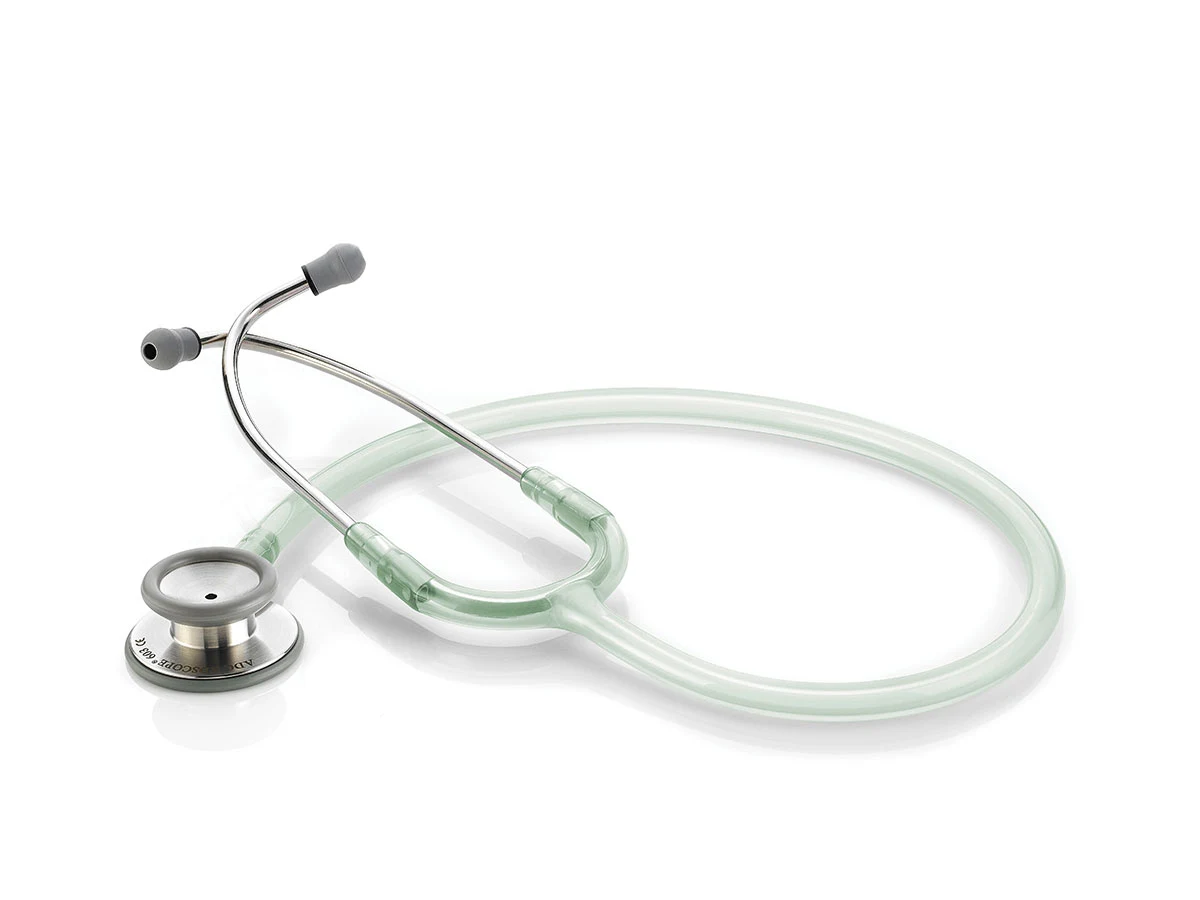
Students who already have a stethoscope can get the WiZmed aneroid set with the other pocket tools in the Ward Kit. For home monitors and choosing between automatic and manual, see our blood pressure monitor buyer's guide.
Questions people ask
How do you measure blood pressure with a sphygmomanometer?
Seat the patient with the arm supported at heart level and wrap a correctly sized cuff on the bare upper arm. Estimate systolic by feeling the radial pulse while you inflate, deflate fully, then inflate about 30 mmHg above that estimate. Deflate at 2 to 3 mmHg per second while listening over the brachial artery: the first sound is the systolic and the disappearance of the sounds is the diastolic.
Should I use the bell or the diaphragm for blood pressure?
Korotkoff sounds are low-pitched, so the bell picks them up well, but the diaphragm is easier to keep flat over the artery. Either is acceptable. Place it just below the cuff, not under it.
How fast should I deflate the cuff?
About 2 to 3 mmHg per second. Deflating faster tends to underestimate the systolic pressure and overestimate the diastolic.
What are Korotkoff sounds?
The tapping sounds you hear over the brachial artery as the cuff deflates. The first clear sounds (phase I) mark the systolic pressure, and their disappearance (phase V) marks the diastolic pressure in adults.
Does it matter if the cuff has no artery marker?
No. Find the centre of the bladder inside the cuff and place it over the brachial artery. Markings make positioning quicker, but a plain cuff gives the same reading when placed correctly.
What size cuff do I need?
Measure around the middle of the upper arm and choose a cuff whose printed range includes that number. The WiZmed adult cuff fits 22 to 32 cm and ADC adult cuffs fit 23 to 40 cm.

Written by
Ashraf Moosa